
Soft enamel
The color is only partially filled and stays recessed. You can feel the metal outlines. See soft enamel pins
Personal advice for companies, clubs & events

From the die to the enamel filling to polishing: the process in eight steps – and what sets soft and hard enamel apart.
See the result of all eight steps: design your own enamel pins.

Your design is turned into a line drawing. Black lines later become the raised metal lines, white areas the recesses for the color.
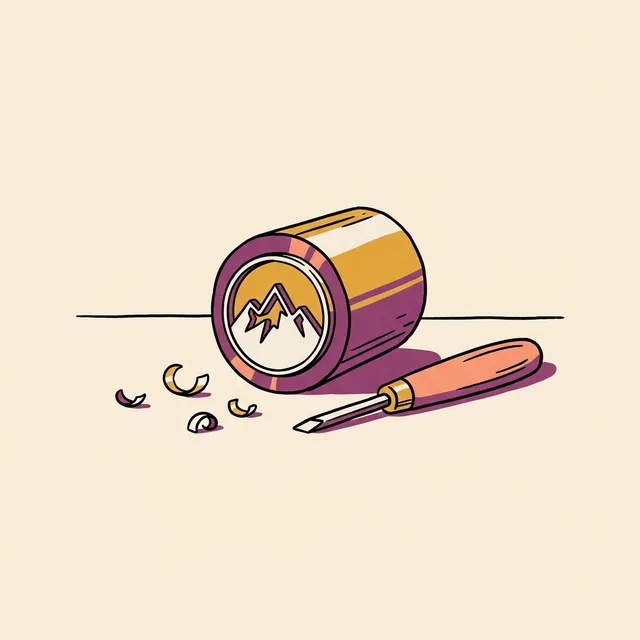
Based on the line art, a stamping die is made. It is the heart of production and largely determines the lead time. What the die and the run cost: How much do enamel pins cost to make?

The die stamps the design into a metal sheet. The pin is then cut out in its shape – round, rectangular or as a custom shape. Stamping also works entirely without color: the difference to die struck metal pins.

The blank is electroplated, for example in gold, silver, copper or antique bronze.
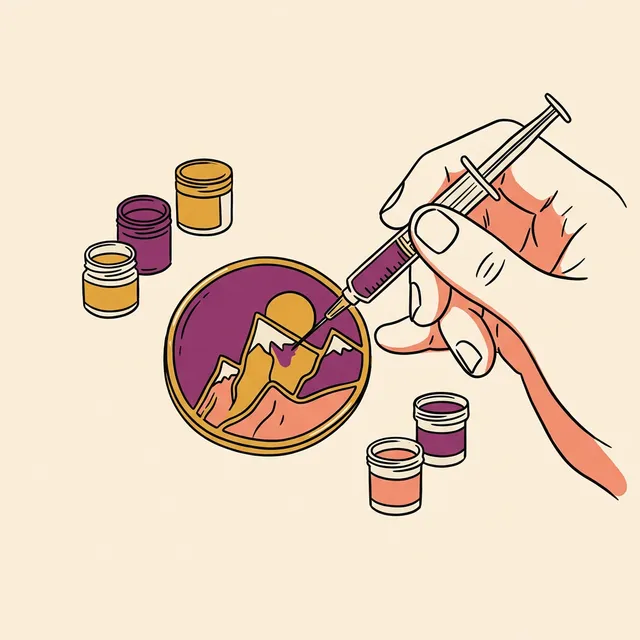
The colors are filled into the recesses one by one and cured. Each color stays separated by a metal line.
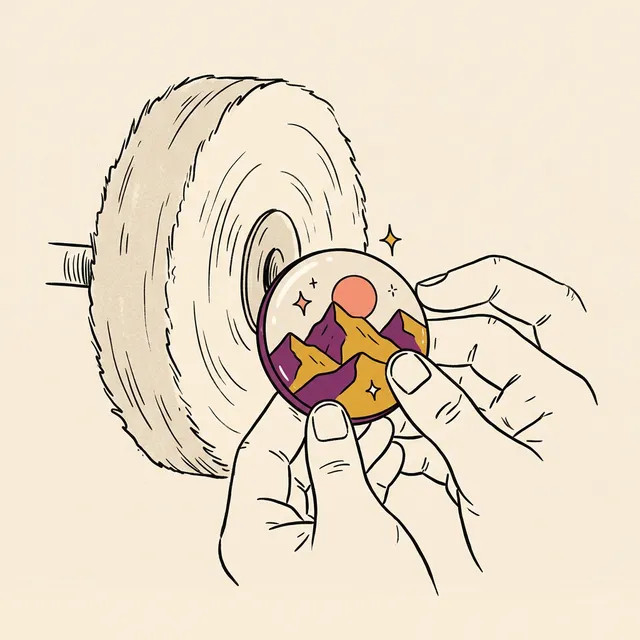
For hard enamel, the enamel is filled up to the top edge and polished flat. For soft enamel, this step is skipped – the color stays recessed.
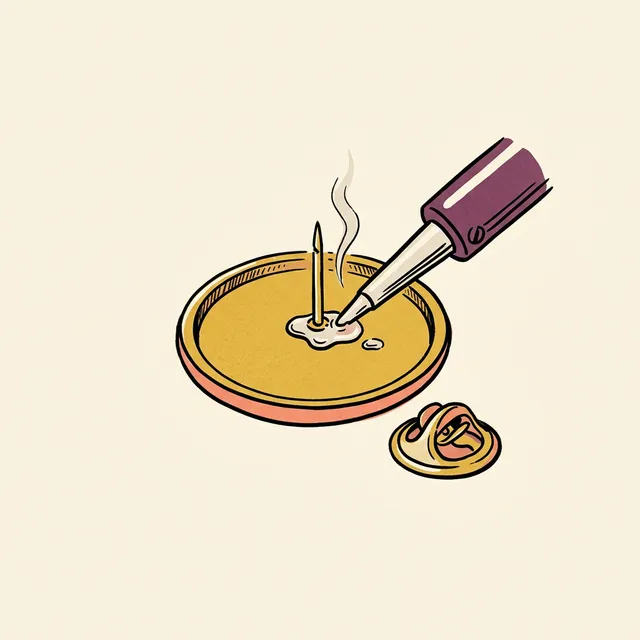
The clasp is attached to the back: Butterfly clutch, Safety pin, Magnetic, Long post, Screw back.

Every pin is inspected and packed as requested – from a poly bag to a jewelry box.
The color is only partially filled and stays recessed. You can feel the metal outlines. See soft enamel pins
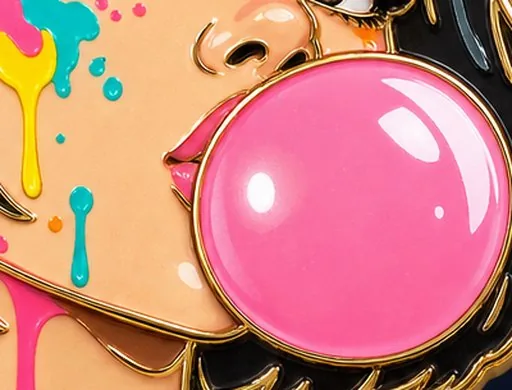
The color is filled up to the top edge and polished flat – smooth like jewelry. See hard enamel pins

Your company logo as an enamel pin: request enamel pins with your logo.